Saturday 24 November 2012

Tomorrow's war solo skirmish

Today I finally got around to a skirmish using the Tomorrow's war rule set by Ambush Alley games.

I have played these once many months ago at a club game which was very enjoyable and led me to picking up a set of the rules. Numerous people on-line have already discussed the good and bad points about these rules or the presentation of these rules and I feel little will be added by me adding my two-pence so let me leave it as whilst I would agree these rules are perhaps not in the most reader friendly order once you read them a few times and get some games under your belt you will likely find them a nice set of rules that add something different compared to some of the other Sci-fi rule sets out there. I certainly enjoy them :-)

To allow me to recap the rules and due to my limited gaming space I opted for a small straight forward skirmish using figures not normally seen on the sci-fi table (I do have futuristic troops but for the setting I had in mind I felt these would work just as well. Besides that's one of the advantages of solo play!)

This combat takes place on a small colony with socialist/French heritage-cultural leanings. Attempting to win control of their resources are some Neo-German mercenaries under the employment of the Das Sansig corporation.

The Borbouis Colonial militia occupy defensive positions around a heavily shelled colonial government building. The Mercenary force aims to take this after a few days stalemate.

Both sides are equally matched in terms of components and quality however the Mercenaries have higher morale and a better medium walker. They also may get the option of calling in support fire.

The Merc's have initiative and attempt to open fire with the squad entrenched across the way from the dug-in defenders. The militia win a reaction test and both squads in the trench open up first. Two Merc's go down.

The Merc Mech comes into view and opens fire on the trench squad. Two down and they fail their moral test leaving them pinned.

The Colonial Mech moves out of cover and attempts to fire on the opposing walker. Winning the reaction test they open fire only to fail to cause any damage. The Mercenary now returns fire..
Luck of the dice all three beat the five defending dice meaning they not only score a hit but the D8 gets two up shifts meaning a roll on a D12 for the damage, not looking good already!
Damn a vehicle killed result on a six so close!

To keep the game going as there is no other AT on the table I allow the colonial commander the chance of calling for support.
A light VTOL in the area manages to make one attack on the enemy Mech but fails to damage it and in return is hit and forced to land, another major blow to the poorly equipped colonials.
There is a chance of armour support in the next two turns so I will see if they live that long whilst the surviving     walker has a free run of the table!

The final two non-initiative units then open fire on the Merc squad in sight on the edge of the woods and between them manage to win both reaction tests and take out the whole squad.

After first aid tests and casualties are removed the hit trench squad breaks and makes a run for it.

Surprisingly close on the next turns initiative but the Merc's retain it.

The third Merc squad advanced out of the woods and instantly had to dice for reaction fire from all three colonial positions, winning one they took down a militia trooper and pinned his squad. The remaining two militia squads got to fire first! All but the squad support gunner go down!

The Mech opens fire on the balcony and the Militia HQ based there, four of the five go down and failing their moral test the CO pulls back.

A much faster turn, most squads are now hampered by lightly or seriously wounded comrades or both, which is severely restricting movement, the one Merc squad to get a Medic to look after their man ended up getting shot up and forced back into cover.

Turn three.
The Merc Mech takes out both trench squads with some accurate fire power.
The surviving militia abandon hope and flee the table after failing to receive further armour support.

A fun little skirmish which has revived my interest in this rule set, unfortunately it would have benefited from a larger gaming table and some more AT weaponry etc but I still found it enjoyable :-)


 Unfortunately I have run out of free memory for photo's on here so I may need to remove some of the photos from older posts before adding any further posts.. unfortunately I am not currently in a position to pay for increased storage although I will look into possibly doing so after Christmas and the holidays are out the way!


Thursday 25 October 2012

Four SOBH Skirmishes

Recently I was able to complete a few skirmish games of Song of Blades and Heroes with a like minded friend who came to visit for a weekend. Unfortunately we only managed to photograph the first four games of the weekend which I will now share with you here - what I will say is that we did lose most of Sunday to working out how to play the board game Horus Heresy which is good fun once you get to grips with all of the rules and how it works but it can take awhile that first time! (also if your not into your 40k as a setting you may just give up!)

We also got some Firestorm Armada played which I intended to also take some snaps of but forgot so apologies for that!

Game one.

As this was the first time my friend had ever played SOBH I let him have a re-read of the revised rules and then use the war-band builder to come up with a 300 pt war-band.

He decided on  group lead by a character he uses for D&D called Leroy. I did write the war-bands down however I have lost the bit of paper (typical). I believe he went for him as a Hero, Q3+ C4.
He was accompanied by a couple of archers who had good shot, shooter long, Q4+ C3. and 4 rat-men at Q4+ C4 with poison, and free disengage.

I went for a Leader, Assassin, Combat master, C2+ C3, three - shooter long, good shot,  C3 Q3+, and two mounted Q4+ C3.

I did double check with my opponent but he had intended to leave out any one with the leader special not seeing the point of it.... he quickly went "ah" and would try it in the next game!

We decided to use a fair size table with plenty of terrain. We came up with a scenario rather than just straight out kill each other. Each of the small flames/corners of the shrine outer wall could be checked for magical emeralds. once adjacent a model could spend actions searching, they then role one D6 for each action and on a 6 they find one, on a 2-5 they fail and on a 1 there is nothing there and no one else can search it.
The aim was to then take these off of the table as loot however we would not allow anyone back on to the table once they left!


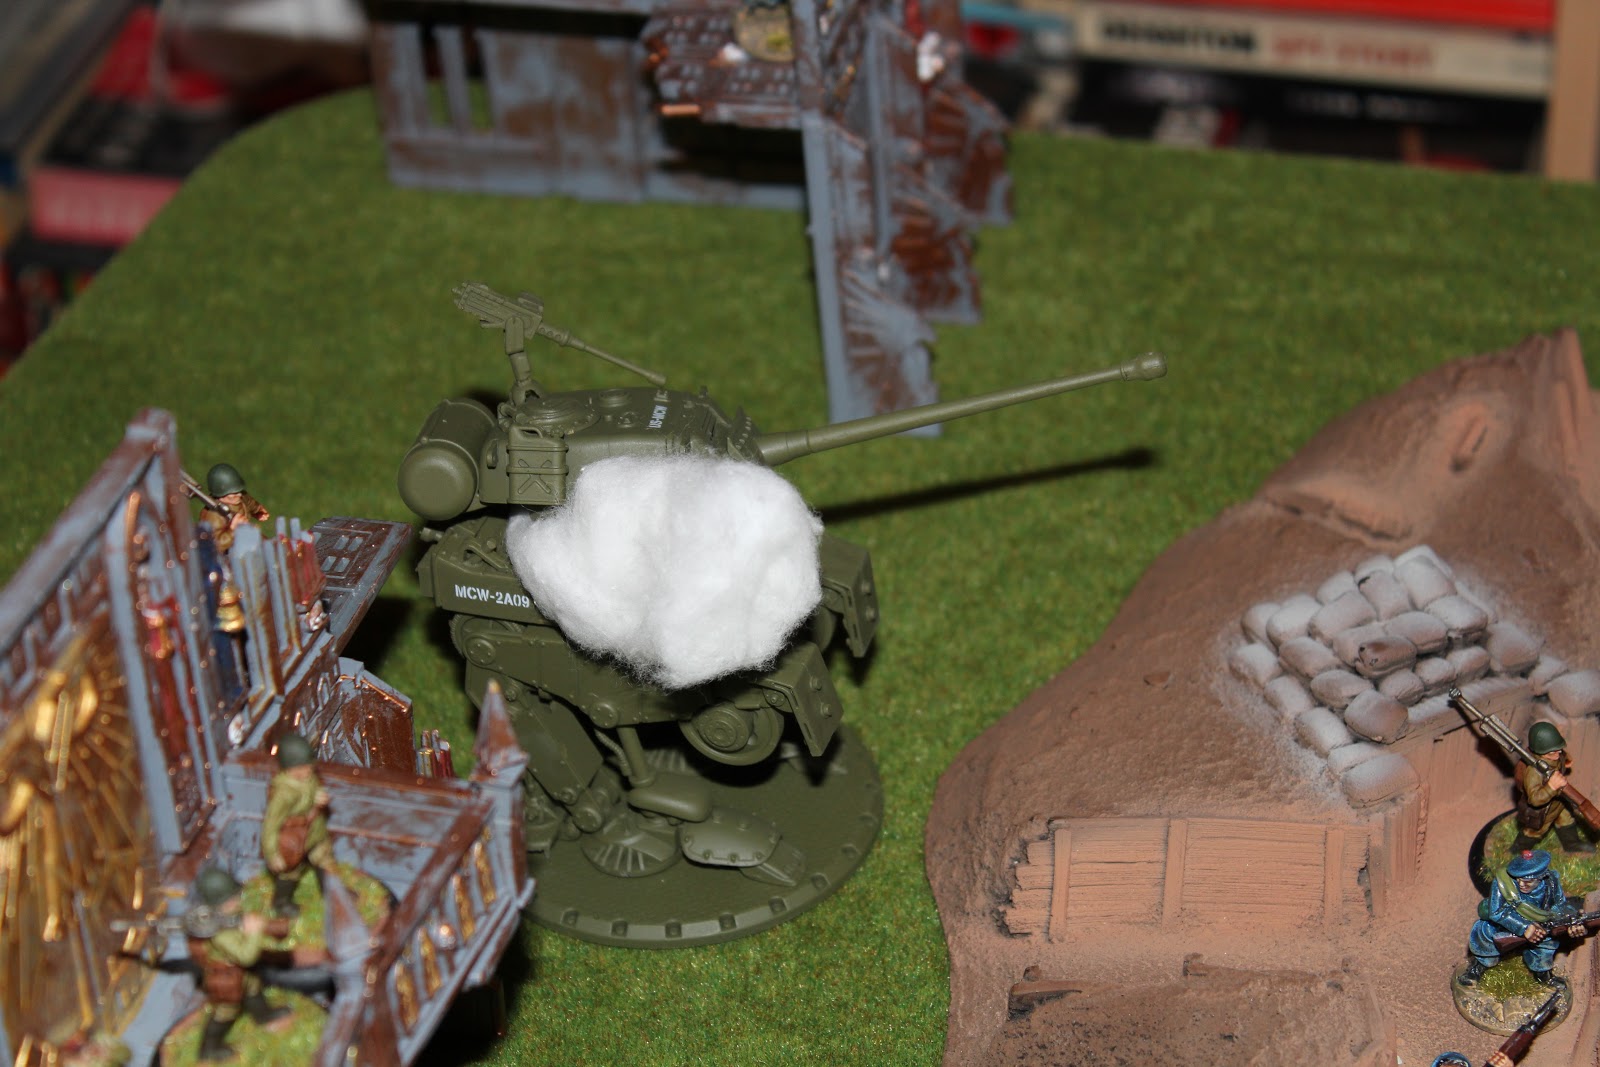
We both began to the bottom of the table as depicted above (not where we are shown above!)


The lack of a leader quickly showed as Leroy rushed ahead whilst his low Quality comrades caused turnovers with minimal movement. The bulk of my force managed to advance in step with one of the mounted troops rushing to the shrine.


The rat-men particularly got stuck at the back!

My second mounted trooper decided to challenge Leroy.

Success a knock down!

The other mounted man found a jewel and quickly rushed off to pass it on to a musket man to leave the table with it.

Leroy failed to regain his feet and was struck down.


One of the rat-men also managed to leave the table with a jewel but most of the remaining troops were killed or fled from failed moral tests.

A victory for my noble(ish) forces!

Game Two

We then played a repeat of this with the same set up however different starting points and objectives, this time we scattered the possible jewels around the table and the aim was to bring them to the magical fire/well in the middle of the shrine and then throw them in all at once (this would only work once) for each jewel thrown in a D6 would be rolled and for each six more than ones rolled the lead character (or who ever threw them in) would be allowed to improve the Q or C rating for the next game!


Again Leroy rushed ahead!
At this point I realised I did not take as many photos as I meant to (sorry about that!)
the short version is that Leroy made a rush with one jewel and got into combat with my mounted troops again and finding himself outnumbered quickly died. The rest of his force came on piece meal and were chewed up allowing my leader to attempt the victory throwing three stones in.... and rolled no sixes nor any ones... all of that for nothing! another victory on points killed however.


Game three

For game three we rebuilt our war-bands and created a new setting on the table.
The objective here would be to capture the village because of its magical blood crystals.

I went for a similar war-band as before but dropped assassin from my leader leaving him as a combat master.
I also dropped one mounted figure and made all three shooters also have unerring aim.
My opponent swapped Leroy out for a Huge bugbear with the leader trait Q3+ C5... He also dropped his archers and went for all rat-men C4+ C4 with long move and stealth.


Using my leader to improve the activation quality of my troops I made good speed to the village, worrying about this the bugbear again abandoned his poorer quality troops leaving them to fend for themselves!


A scary sight especially when your expecting him to mix it up on a modified C7 !! which would finish off most of my force with ease...


Luck however was with me a fortuitous turn over allowed be to conduct a group activation on my musketeers.. hoping to get a knock down I was pleasantly surprised to roll a 6 to his one... a kill and with the first shot of the game his point sink leader is dead!  


It then took me a fair while to chase down the rapid rat-men who with long move were a pain to get to grips with, he used stealth to good use preventing me from shooting anyone else the whole game!
I did however manage the victory - I think the sight of his dead bugbear threw the whole game plan off!

Game four

The final game I can talk about here (due to lack of photos for everything else d'oh).
Again we kept the same war-bands as in game three and went for a full change of scenery.
The setting here was the rampaging bugbear and his rat-men have captured a village and the local lord wants his water wheel working again!


We both expected the bridge to be pivotal, I hoped my ranged advantage would allow me to pick his fast rats off as they broke cover to cross the bridge. 

Hesitant after the last game the rats kept well into cover and approached the bridge very cautiously, the bugbear keeping bits of terrain between him and me at all times!


This allowed me to capture the bridge easily...or so I thought.


You maybe able to make out the rat-men in the tree-line below and above.


Forming my three shooters on the bridge with my leader and mounted man in close to support I felt confident with how this was going!


So confident that when a move left a rat-man in range I used three actions to charge in my mounted man!


Unfortunately what happened next occurred so fast I only captured the end of it by photo...
My knight failed to kill the rat and instead over the next turn he was knocked down and killed as the rats (lucky dice here) managed to swarm my firing line before it got off a shot in anger.
Some back and forth saw one of the rats killed and both of us had figures knocked over and recoiled until his bugbear managed to charge on to the bridge smearing one of my men into a small blood stain on the stone work, this gruesome death sent all but one of my remaining men fleeing from the bridge, he was promptly eaten by the bugbear on his next turn..


My leader attempted to charge in and take him on but was knocked over and then outnumbered found himself being devoured, this caused the last two guys to flee again.


The final man gave up - finally a victory for my visiting friend (in fairness he should have had more luck in the last games it was a much closer set of battles than it may seem!)


Once again these elegant rules provided us with hours of varied fun and entertainment I heartily recommend them to anyone.

Thanks for reading.

Sunday 30 September 2012

Battle of a small village

The battle for a small village

This is a inter war battle skirmish between two small squads of French and German set in a small village in the English country side, both sides are volunteers fighting for one or other of the factions prevalent in the British civil war setting.

This was more as a run through of the basics of the Warhammer WW1 rules The Great war and an excuse to use some very nicely painted figures I acquired awhile back but had yet to use properly.

                             The Germans came on from the right of the village in a long skirmish line.


The French advanced in two groups from the left of the village.


Both sides advanced towards each other with the French drawing first blood.


A spattering of casualties on each side as the distance closed.
 

The Germans start to take heavier casualties with the French have had the first turn advantage allowing them to shoot first as the range closes. 


However the Germans heavier weapons mow down a number of the French causing one squad to break and flee.


However both remaining Germans also break and flee leaving the French as the victors.


A very small/fast skirmish game which essentially told me I need a much larger table to get the most out of these rules and to use more figures at a time!
However I had kind of thought that might be the case so wasn't too disappointed. 
It plays as expected similar to 40K however the lack of armour saves makes it more lethal.


Friday 21 September 2012

Firebrand Campaign setting

Campaign setting

I decided to set out my solo campaign setting here to help keep me focused on it :-)
This will largely be campaigned using Firebrand.

Whilst Firebrand has its own setting I like generating my own backgrounds for solo gaming - I find it can be a fun exercise in its own right.

As a result my setting is not specifically based within the world set out in Firebrand but nor is it set in any other.

The key setting here is a realm in turmoil. The Monarch passed without declaring a heir and the Council of Ten rule in the absence of a ruler.

Out with these ten there are a large number of powerful and influential people some of whom support one of the council, one of their own or are undecided as to who should rule the realm.

There is twenty Electors who can vote along with the council of Ten to select the next ruler.

This uncertainty is pushing them towards civil war, whilst there are large armies within the realm my campaign will at least to start with focus on the opening skirmishes before full scale war erupts.

I have calculated the total wealth and number of troops that could be called upon by the top 13 candidates for the throne plus those still undecided.
However the majority of these are not directly pledged to one person or another but rather are pledged to someone who in turn puts their support behind another and so on.

I have decided against having a map as such to allow me to create interesting scenarios without worrying about distance and too much detail which I think would bog me down and stop me getting any games in!

Row Labels Sum of Crowns in vault Sum of Troops
Undecided             195,485     641,837
Lord Inquisitor Neil Larch-Bac             130,688     485,788
Pirate Captain Kylah Levere               74,253     223,687
First Lord Igor Riggert               58,849     121,385
Lord Governor Forest Glassford-Cirne               14,974     119,125
Lord Forestanus Brasier               78,158       99,398
Prince Manpreet Clerici-Blumreich                   729       91,810
General Saman Yaron               62,744       74,678
Cpt-General Gianna Beville-Pridmore               96,011       65,256
Arch-Bishop Valentino Debias               29,680       41,151
Viscount Beibhinn Kadlecik                8,865       40,365
Lord Governor Deo Ratz                6,513       38,356
Lord Inquisitor Monaldus Diquattro               62,708       32,397
Lord Governor Alinuswe Klettke-Kenter                     31               8
Grand Total             819,688  2,075,241


Sunday 16 September 2012

Firebrand - skirmish

This will be my first game using the new Firebrand set of rules adapted from the SOBH rules by Ganesh games.
http://www.ganeshagames.net/

Also well worth a look is:

http://towercap.blogspot.com.au/

Has a list of official amendments to the rules and some nice battle reports.

Monday 10 September 2012

Fleet repairs

I foolishly decided to have another read of the space combat rules Firestorm armada.
This promptly led to me having nearly every model ship I own out on a table to assess their gaming readiness!

Alas a number are in need of a new paint job and some adhesive!

Not to mention a couple of acquisitions that still needed taking out their packets...the shame.

This is a collection of mostly Battlefield Gothic Imperial ships along with some Space Marine ships and a Terran fleet from Firestorm Armada.

This is one of my newer purchases a Dreadnought for the firestorm rule set, it is a fairly large model!!


To give a size comparison here is a Terran Dreadnought and a Imperial Battleship, as you can see the Terran ship is quite a bit larger..


Some of the repair yard activities, my Black stone fortress needs a new stand sorted out, really the amount of people who snap the base off and give up selling their ships cheaply as a result.. now I just need to get around to re basing them and touching up their paint jobs.


PMC Games Saxon Village

Off on a slightly different topic... I recently received part of my order from PMC games, a very nice and reasonably priced village which comes fully painted to a decent standard, well worth a look. I also have their desert buildings and am waiting on a medieval town set too :-) 


I particularly like the manor house or perhaps simple church.. plenty of scope for varied gaming!


Now I just need to justify the early 20th C buildings for my WW1, WW2 and VBCW settings :-)